Illustrations
Diagrams, illustration and technical application of the trace.
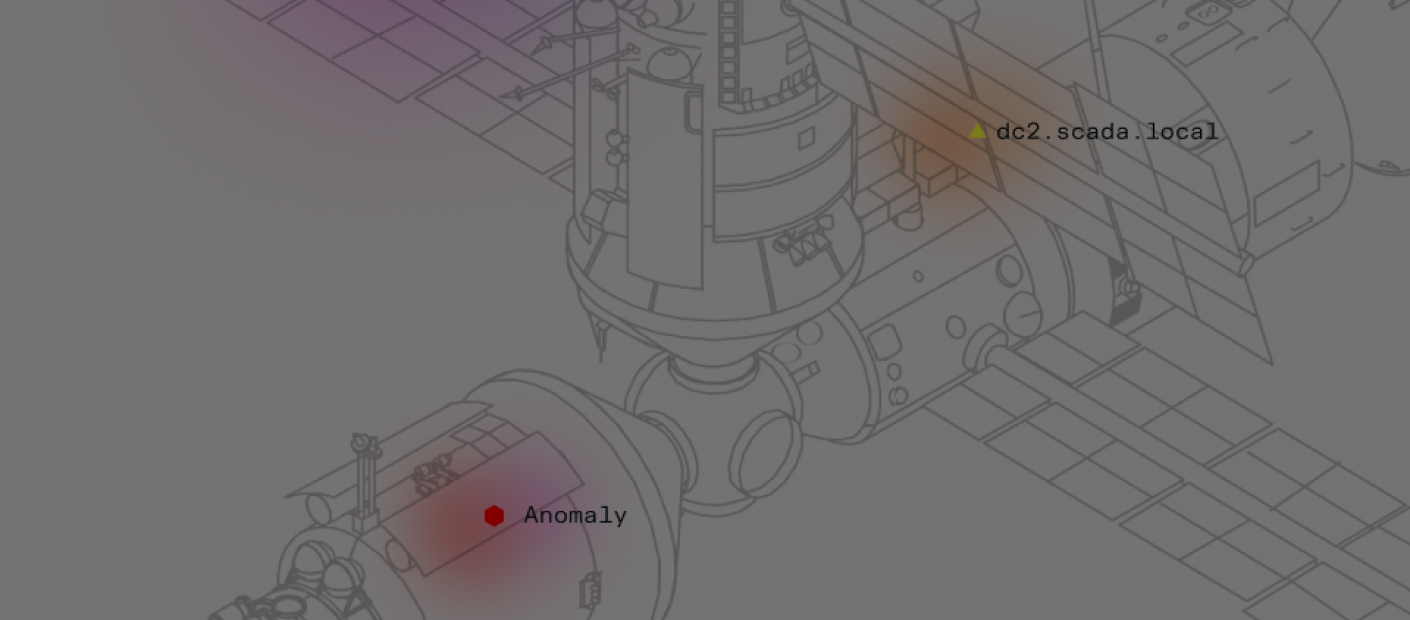
Illustration styles
Technical
We employ the Trace concept in our illustrations, communicating both technical expertise and the essential nature of our platform. Illustrations can be built on images that communicate customer businesses/industries. A faint application of The Glow and geometric shapes in our secondary brand colors can be used to communicate details.

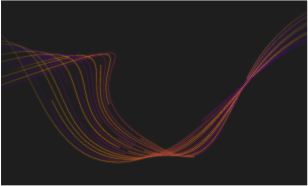
Gestural
The gestural trace can be built with multiple lines to create visual compositions or textural backgrounds. These can be used in a decorative fashion, but wherever possible, should be designed to match the context/concept of the copy they support.
Refer to the Trace construction guidelines for design walkthrough.
Refer to the Trace construction guidelines for design walkthrough.

Infographics
Infographics leverage various aspects of our design system to group, simplify, and communicate data visually. Designers can use the Glow, gestural Trace, and/or the colors from our primary gradient to establish a visual style and create visual hierarchy.
Generally, FK Grotesk Mono is utilized for all call-outs in infographics.
Generally, FK Grotesk Mono is utilized for all call-outs in infographics.

Access Illustrations and Diagrams
Creating illustrations
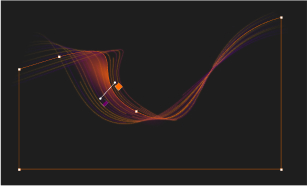
How It’s Built (Gestural Illustrations)
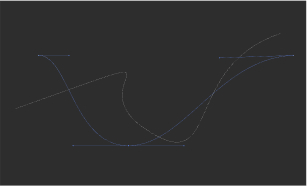
01
Create two separate paths in Adobe Illustrator and ensure they intersect at specific points.

02
Utilize the Blend Options tool in Adobe Illustrator and choose "Specified Steps" for spacing, setting it to 15. Then, click on both paths to generate the blend between them.

03
Expand the blended paths while ensuring that "Fill" is not selected.
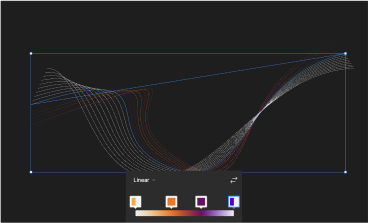
04
Import the blended path into Figma and proceed to add a stroke gradient to each line. Randomly alternate the directions of the gradients for visual variety and interest.
05
Introduce breaks along most of the paths to add texture, while ensuring that at least two paths remain complete without breaks.
06
Duplicate and stack the blended paths group below, increasing the stroke point size by +3, and apply a subtle Layer Blur effect.
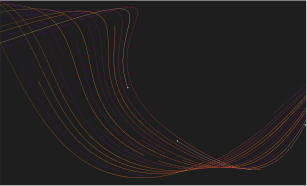
07
Duplicate the unbroken paths, then create a shape around each duplicated line. Apply a Radial gradient for the Glow effect, referencing page 39 for guidance.
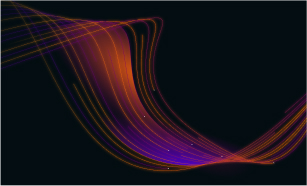
08
Repeat the process with more paths, varying directions and gradients. Add Pixel shapes to some ends and adjust the composition for impact.